
The Xbox Series X controller is built like a tank, but its thumbsticks are its weakest link. Microsoft uses ALPS potentiometers that are rated for about 2 million cycles. That sounds like a lot, but for a Call of Duty or Rocket League player, that can mean stick drift sets in after just 6 months.
Unlike the Elite Series 2 bumper issues (which are mechanical), stick drift is electrical wear. The carbon track inside the sensor gets scratched, causing the controller to think you are pushing "Left" when you aren't touching anything.
In this guide, we will fix your controller using three methods, starting with the easiest (Software) and ending with the pro repair (Soldering).
Prerequisite: Test Your Drift
Before opening your controller, you need to know which stick is bad and how bad it is. Use our free tool to check your "Axis Error" percentage.
Run Drift Test →Method 1: The Xbox Calibration Tool (No Tools Required)
In a massive win for gamers, Microsoft quietly released a self-repair calibration tool in 2024. This tool allows the controller to "re-learn" its center point, effectively hiding moderate drift.
- Turn on your Xbox Series X/S or PC.
- Open the Xbox Accessories App.
- Click the ... (Three Dots) under your controller.
- Select Recalibration Options.
- Choose the drifting stick (Left or Right).
Follow the on-screen animation to rotate the stick 5 times. The software will create a new "Deadzone Map" that compensates for the wear in your sensor. Try this first! It fixes about 60% of cases.
Method 2: Cleaning the Potentiometer (Intermediate)
If software calibration fails, your sensor is physically dirty. We need to open the controller and clean the "Wiper Discs."
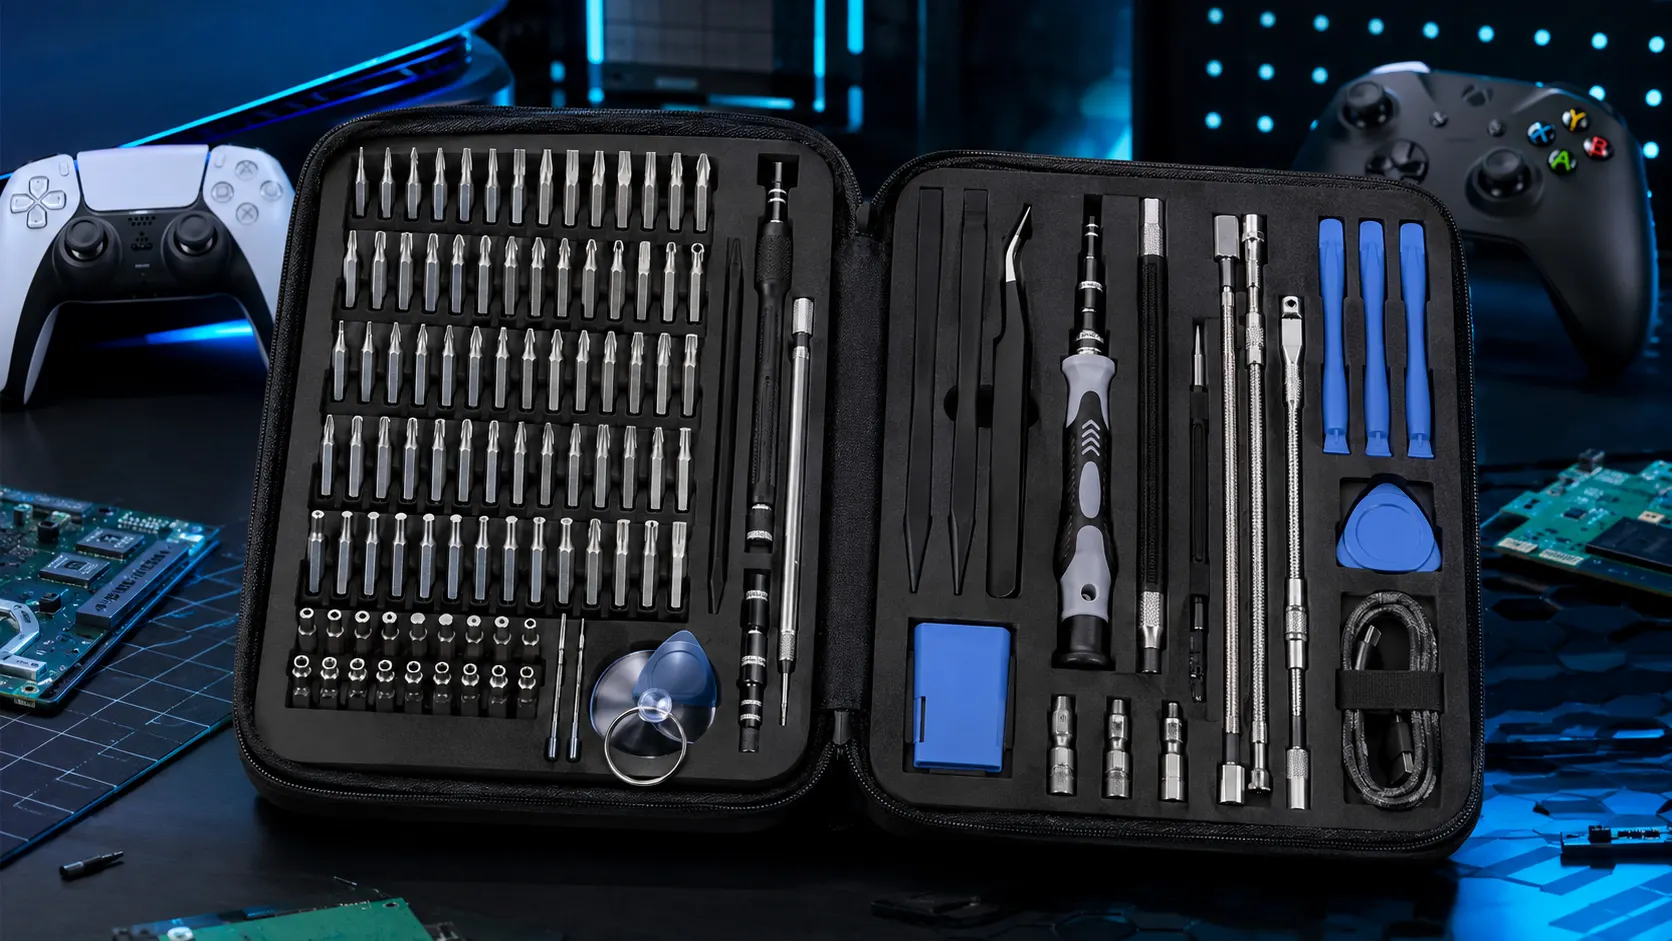
STREBITO 142-Piece Precision Screwdriver Set
A broad precision bit set for accessing Xbox controller screws and handling small electronics during repair.
View on Amazon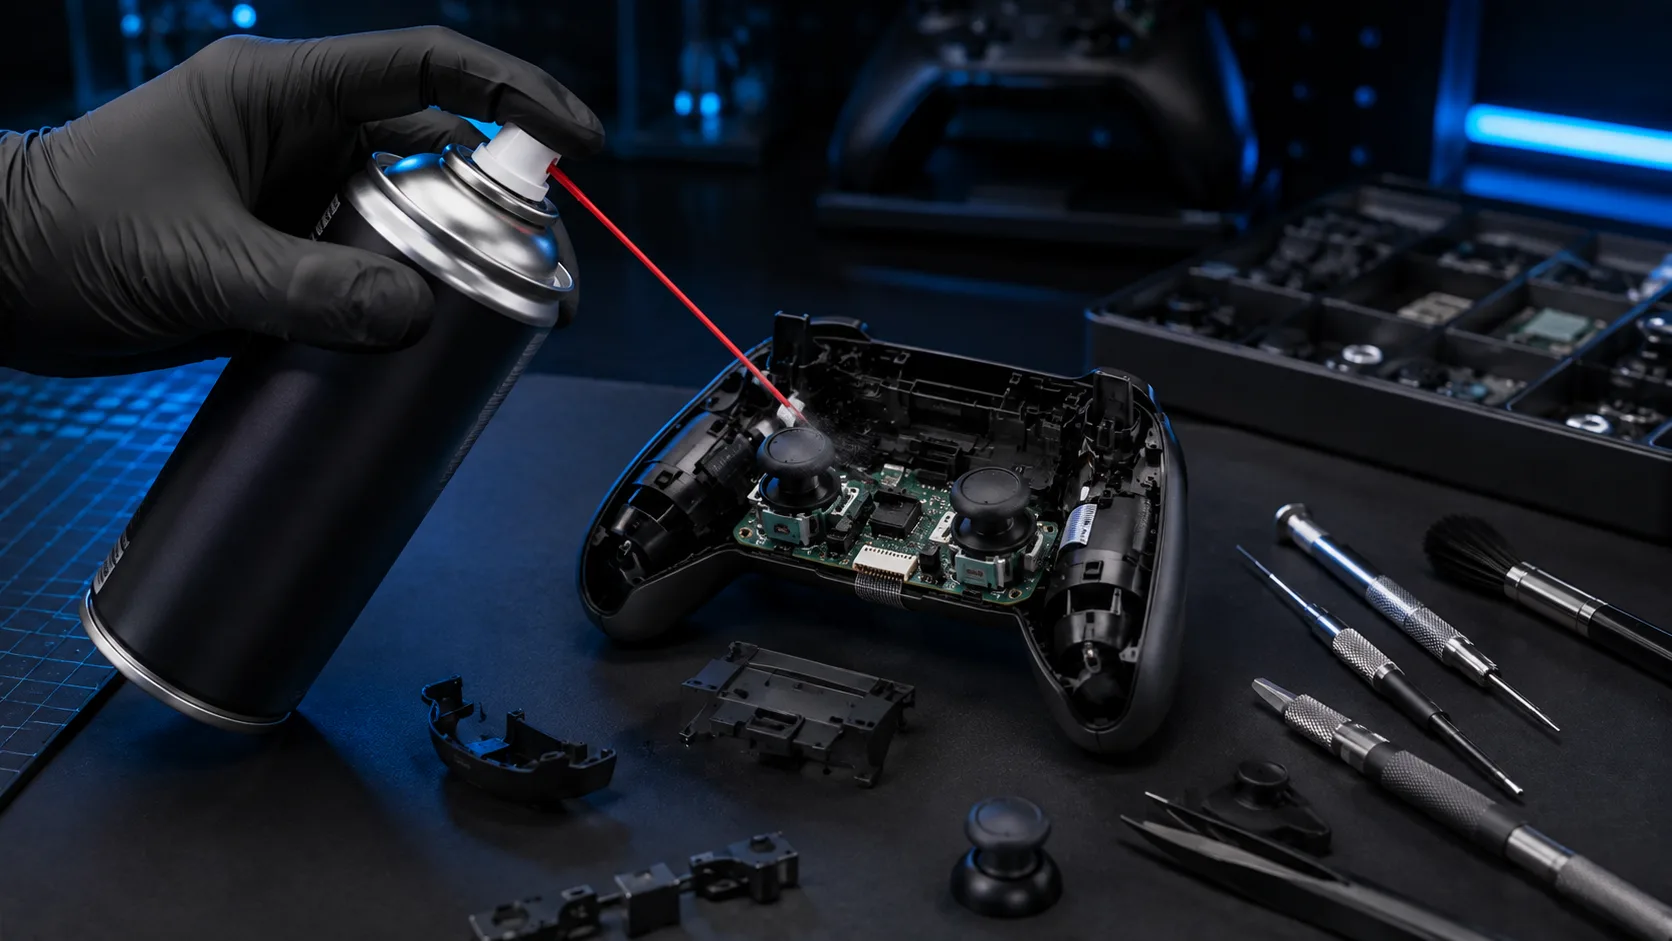
Electronic Contact Cleaner
A quick-drying contact cleaner option for removing dust and contaminants from compatible electronic contacts and joystick components.
View on Amazon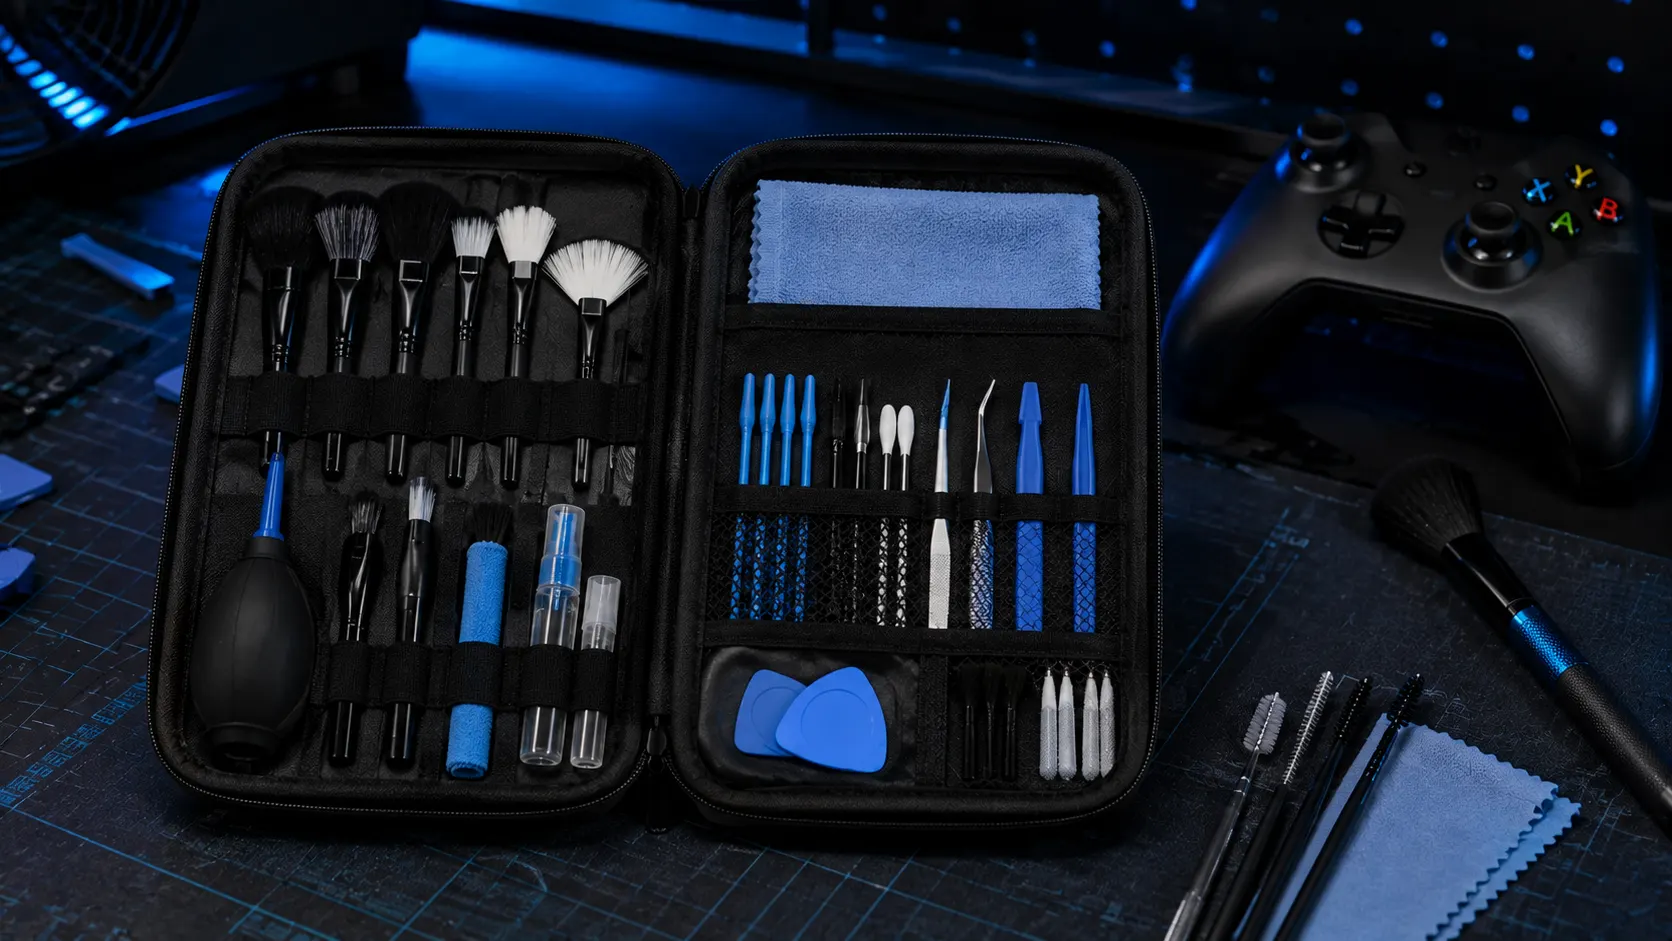
32-in-1 Electronics Cleaning Kit
Compact cleaning tools for reaching around controller openings, buttons, sticks, and other small electronics areas.
View on AmazonStep 1: Remove the Faceplate
You cannot see the screws yet. They are hidden.
- Side Rails: Use a plastic pry tool to pop off the grips on the back handles.
- Hidden Screw: Pierce the sticker inside the battery compartment to find the 5th screw.
- Unscrew: Use a Torx T8 Security driver to remove all 5 screws.
Step 2: Access the Module
Locate the green boxes on the side of the joystick module. These are the potentiometers.
Green Box on Side: Controls Up/Down movement.
Green Box on Top: Controls Left/Right movement.
Step 3: The Alcohol Flush
You do not need to desolder the whole module yet.
- Gently pry the green plastic wall of the sensor away from the metal housing using a small flathead driver.
- It will bend back about 30 degrees. Do not snap it!
- Take a Q-Tip soaked in 99% Isopropyl Alcohol and wipe the black circular track inside.
- Remove the small white "wiper disc," clean it, and place it back.
- Snap the green wall back shut.
Method 3: Soldering a New Sensor (Advanced)
If cleaning didn't work, the carbon track is scratched beyond repair. You must replace the potentiometer sensor itself.
Warning: You need a soldering iron for this.
- Desolder the 3 legs of the green potentiometer (you don't need to remove the whole joystick, just the green sensor).
- Pull the old sensor off the side of the module.
- Slot in a new 10k Ohm Potentiometer (cost: approx $0.50).
- Solder the 3 legs back to the board.
- Run the Xbox Calibration Tool again (Essential!).
Elite Series 2 Warning
This guide applies to the standard Series X/S controller (Model 1914). The Elite Series 2 uses a completely different, enclosed metal module to handle tension adjustment. You cannot easily open or clean Elite sensors; usually, the entire module must be swapped.
Conclusion
Xbox stick drift is inevitable, but it isn't a death sentence for your controller. Most users can get another year of life just by using the Calibration Tool or cleaning the sensors with alcohol.
If your USB-C port is also acting up, check out our USB-C Port Replacement Guide. For connection issues, see the Sync Button Fix.
If you are tired of fixing potentiometers, consider upgrading to a third-party controller with Hall Effect sticks, like the GameSir G7 SE, which is officially licensed by Xbox and immune to drift.
Frequently Asked Questions
Why does my drift come back after a week?
This usually means the carbon track is scratched, not just dirty. Cleaning only removes dust; it doesn't fix a scratched surface. You need to replace the sensor.
Does opening the controller void my warranty?
In the US, the "Warranty Void if Removed" stickers are illegal. You have a right to repair. However, if you burn the board while soldering, Microsoft will not help you.
Can I just spray WD-40 inside?
NO! Regular WD-40 leaves an oily residue that ruins electronics. Only use "BW-100 Electronic Contact Cleaner" or 99% Isopropyl Alcohol.
Did this fix work?
Verify your repair by checking the circularity and polling rate errors on our home page.
Test Controller Now