
Your controller just died on you. You press the bumper, but nothing happens on the screen. Or maybe the button is physically stuck inside the plastic shell. It is frustrating, especially when you are in the middle of a match.
But don't go buy a new controller yet. Most bumper issues are simple mechanical failures. You can often fix them at home without replacing the entire controller.
The important part is diagnosing the problem before taking the controller apart. This guide walks through the common Xbox Series X/S LB and RB problems, cleaning, and bumper replacement.
1. Xbox Series X Bumper Fix Diagnosis: The Sound Test
Before you grab a screwdriver, we need to know what we are dealing with. Put the controller near your ear and press the broken bumper. Listen and feel for the difference.
- Scenario A: It Clicks, But Nothing Happens
If you hear the sharp click but the game doesn't register the input, the switch may be dirty or wearing out.
The Fix: Clean the internal switch and test again. - Scenario B: It Feels Mushy or Loose
If the bumper feels floppy or no longer makes its normal click, the internal plastic bumper arm or bridge may be broken.
The Fix: Replace the bumper assembly. - Scenario C: It Is Physically Stuck Down
If the bumper is wedged inside the shell and will not return normally, contamination or physical damage may be responsible.
The Fix: Clean it first; replace the bumper if the plastic is damaged.
Wait, do you have drift too?
If your thumbsticks are also moving on their own, check our drift guide before buying repair parts.
Check Drift Fixes2. Tools You Need for an Xbox Series X Bumper Fix
Microsoft uses security screws inside the controller. Use the correct driver instead of a knife, flathead, or undersized bit that could damage the screw head.
| Tool | Why You Need It |
|---|---|
| Torx T8 Security Screwdriver | Fits the security screws used inside the controller. |
| Plastic Pry Tool | Helps remove the grip covers without damaging the shell. |
| Isopropyl Alcohol | Useful for targeted cleaning when contamination is suspected. |
| Replacement Bumper | Needed when the LB/RB plastic assembly is physically broken. |
Recommended T8 Security Screwdriver Set
If you are opening an Xbox Series X/S controller, a precision electronics screwdriver set is useful because the controller uses security screws. Choose a set that includes the correct T8 Security Torx bit.
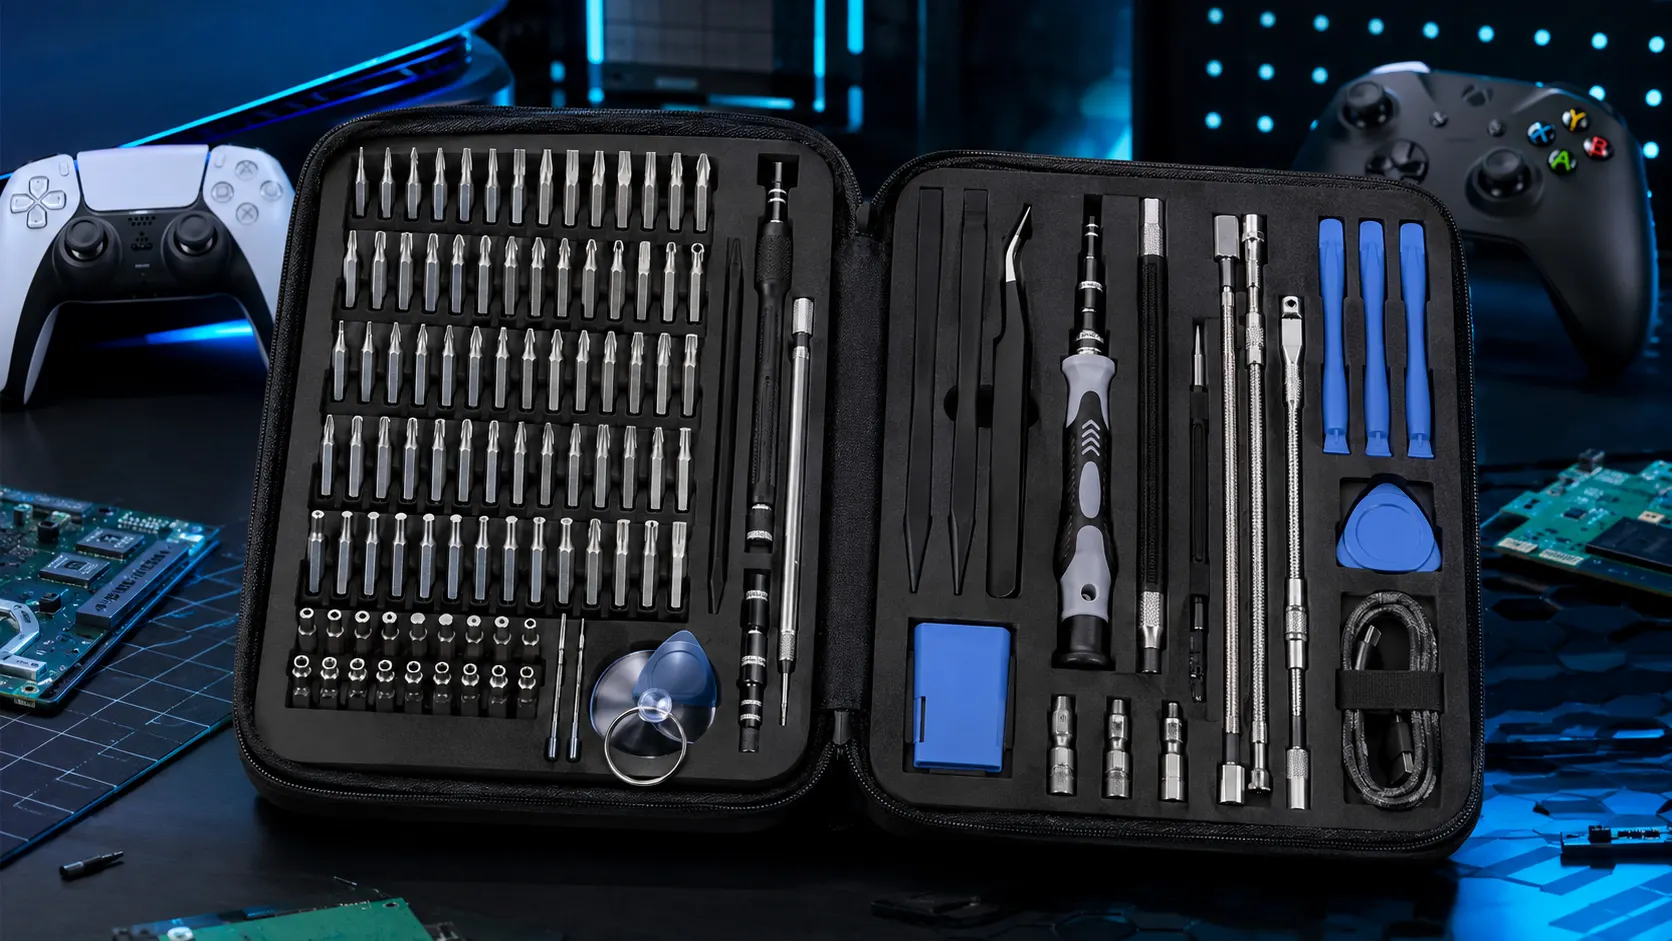
STREBITO Electronics Precision Screwdriver Set — 142 Pieces
A large precision bit set for electronics and controller repair.
Check Price on Amazon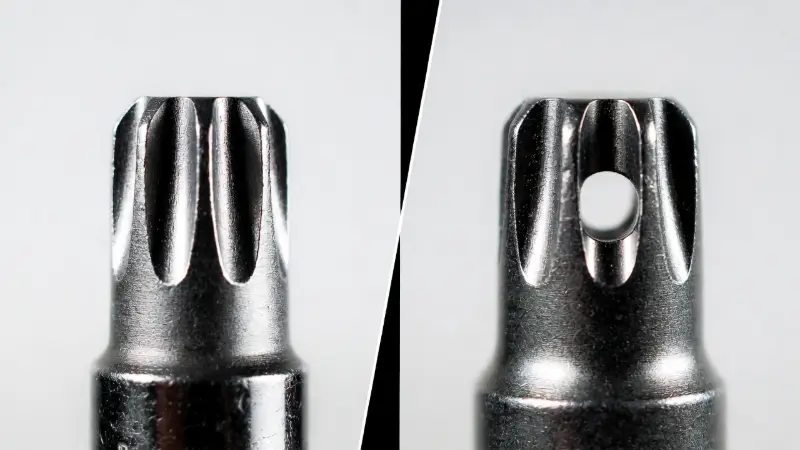
3. Phase 1: Cleaning the Switch
If your bumper still clicks but the input is not registering, or the bumper is sticky, cleaning is the first repair to try.
Electronic Contact Cleaner for Controller Maintenance
If contamination is suspected around a bumper switch, an electronics contact cleaner can be considered. Use only a product intended for electronics and follow its label directions. Do not spray blindly into the controller.
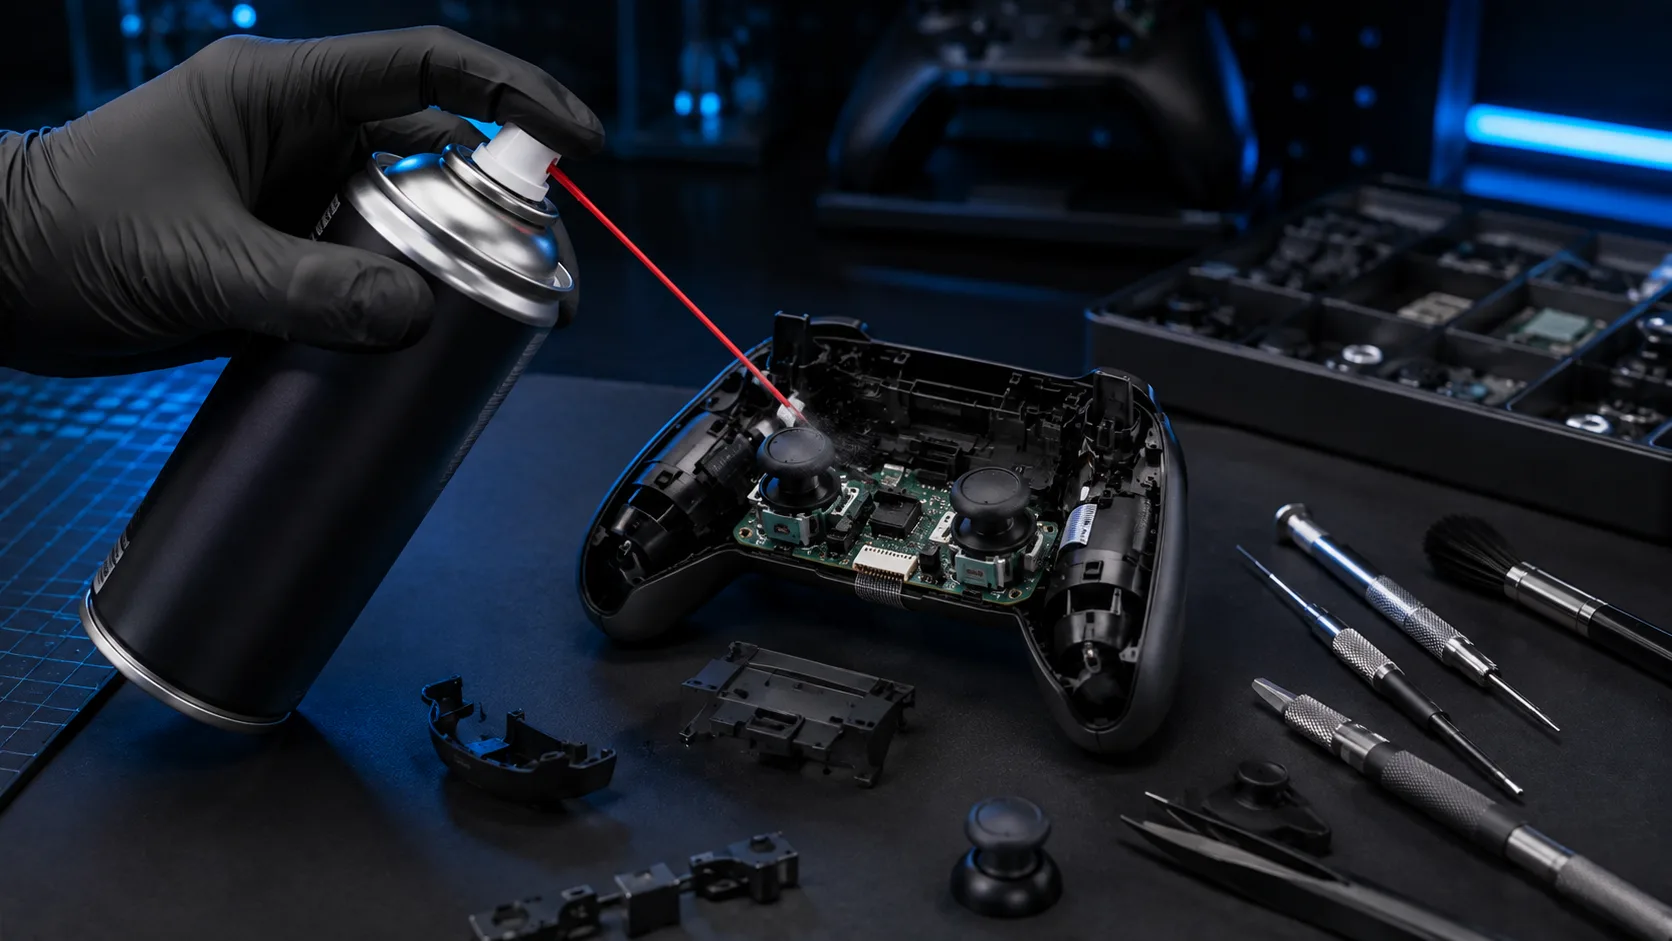
BW-100 Electronic Contact Cleaner
Electronic contact cleaner for targeted maintenance of compatible electronic contacts.
Check Price on AmazonImportant: Follow the product instructions and allow the controller to dry fully before testing. Do not spray blindly into a controller.
- Remove the Batteries: Take out the battery pack before cleaning.
- Apply Cleaner Carefully: Use a small amount according to the cleaner's instructions.
- Work the Bumper: Press the LB or RB bumper repeatedly while cleaning the surrounding mechanism.
- Dry Completely: Allow the controller to dry fully before reconnecting it.
- Test: Check the bumper in Windows or in a game.
4. Phase 2: Replacing the Xbox Series X Bumper
If your diagnosis was a mushy, loose, or physically broken bumper, cleaning will not repair the plastic. The bumper assembly needs to be replaced.
IKPEK 2 Pack LB/RB Bumper Replacement for Xbox Series X/S
If the original LB or RB bumper has become mushy, loose, or physically damaged, this IKPEK 2-pack is a replacement option for Xbox Series X/S controllers. Confirm compatibility with your controller model before ordering.

IKPEK 2 Pack Bumpers Replacement LB RB Button for Xbox Series X/S Controllers
Black replacement shoulder bumper buttons and top/middle bracket assembly intended for Xbox Series X/S controller repair.
Check Price on AmazonFit check: Confirm that the listing matches your Xbox Series X/S controller before ordering. Do not assume Xbox One bumper parts will fit.
Step 1: Open the Controller Grips
The screws are hidden beneath the side grip covers. Carefully pry the plastic grip covers away from the controller.
Step 2: Remove the Security Screws
Once the grips are off, locate the controller's security screws, including the hidden screw inside the battery compartment.
Use your T8 Security Torx driver and keep the screws together so they are not lost.
Step 3: Remove the Faceplate
With the screws removed, carefully separate the front faceplate from the controller shell.
Step 4: Swap the Bumper Assembly
The LB and RB buttons are part of a single bumper assembly connected by a central plastic bridge.
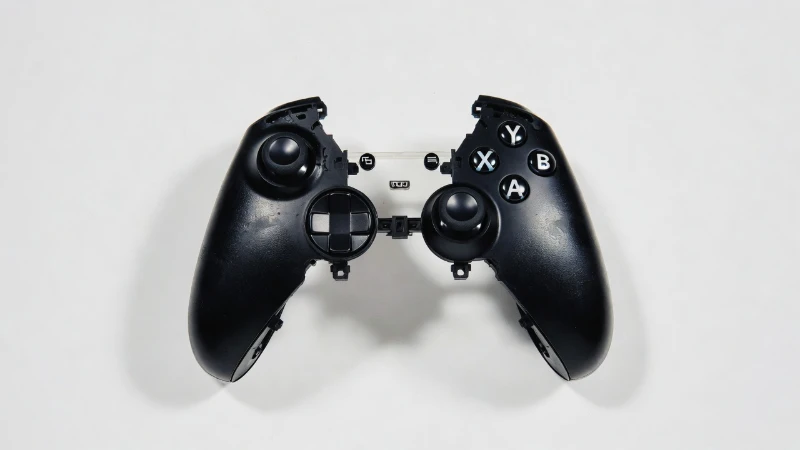
- Lift the old bumper assembly out carefully.
- Check the Home button area for small plastic pieces that may move during disassembly.
- Place the replacement bumper in the same position as the original.
- Confirm both LB and RB buttons move freely before reassembly.
Step 5: Reassemble and Test
Reinstall the faceplate, screws, and grip covers. Then reconnect the controller and test both bumpers before returning to normal gameplay.
5. The Temporary Tape Trick
If the bumper plastic is worn but not completely broken, a tiny piece of tape can sometimes provide a temporary increase in thickness where the bumper contacts the internal switch.
- Open the controller using the steps above.
- Place a tiny piece of electrical tape over the worn contact point.
- Reassemble carefully.
- Test the bumper.
This is only a temporary workaround. A cracked or broken bumper assembly should be replaced rather than relied upon indefinitely.
6. Frequently Asked Questions
Will opening my Xbox controller void the warranty?
Opening a controller can affect warranty coverage. Check your controller's warranty status and applicable terms before beginning a repair.
Can I use an Xbox One bumper on a Series X controller?
No. The bumper assemblies are different. Use a replacement specifically intended for the Xbox Series X/S controller and verify the applicable model before ordering.
Should I clean or replace the bumper?
If the bumper still clicks but the input fails, cleaning may be worth trying. If the bumper is mushy, loose, cracked, or physically broken, replacement is the more appropriate repair.
Did this fix work?
Verify your controller after the repair by checking the buttons and analog inputs with our free tester.
Test Controller NowAbout the Author
TMG Team creates practical controller testing, troubleshooting, and repair guides for gamers.