The Complete Guide to Xbox Controller Repair & Maintenance
The Xbox Wireless Controller is widely regarded as the gold standard for PC and console gaming due to its ergonomic design and native Windows compatibility. However, whether you are using the standard Model 1914 (Series X/S) or the premium Elite Series 2, mechanical failures are inevitable. At TestMyGamePad, we believe that a broken bumper or a drifting stick shouldn't cost you $60 to fix. Our Microsoft repair hub provides the technical data and step-by-step instructions you need to diagnose and repair your hardware at home.
Common Xbox Series X/S Controller Failures
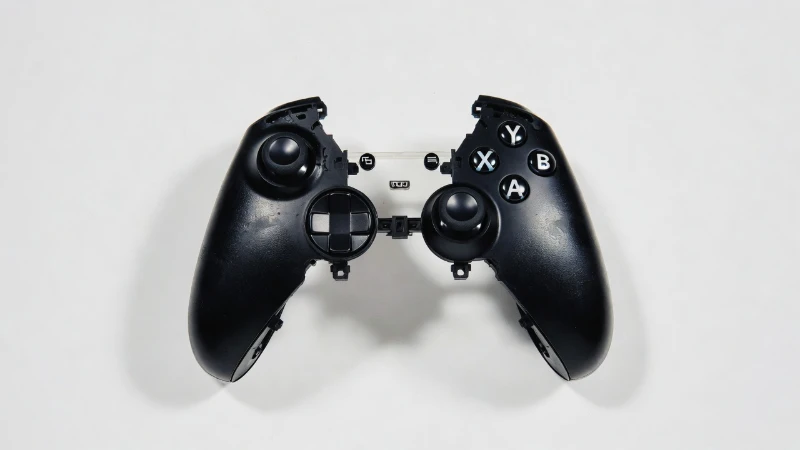
The Model 1914 controller introduced a new "Share" button and a refined D-pad, but it inherited several legacy issues from the Xbox One era. The most common point of failure is the LB/RB Bumper Assembly. Unlike other controllers that use independent buttons, the Xbox bumpers are connected by a thin plastic bridge that flexes every time you press a button. Over time, this plastic fatigues and snaps, leading to unresponsive inputs or a "mushy" feel. Our repair guides show you how to replace this specific part for under $10, saving the controller from the landfill.
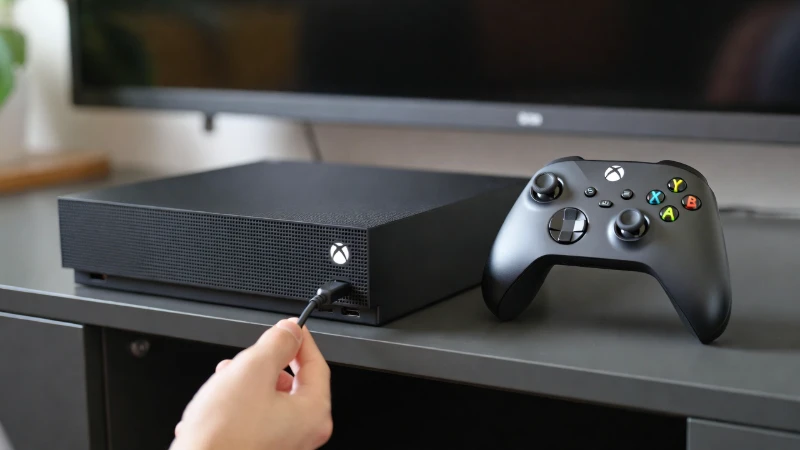
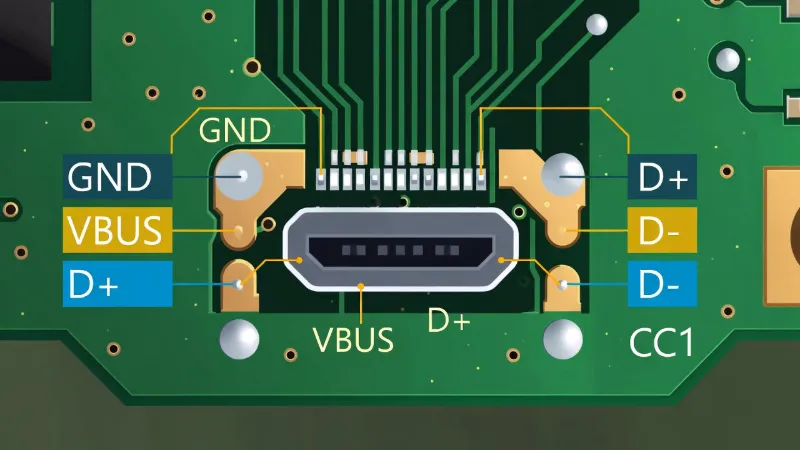
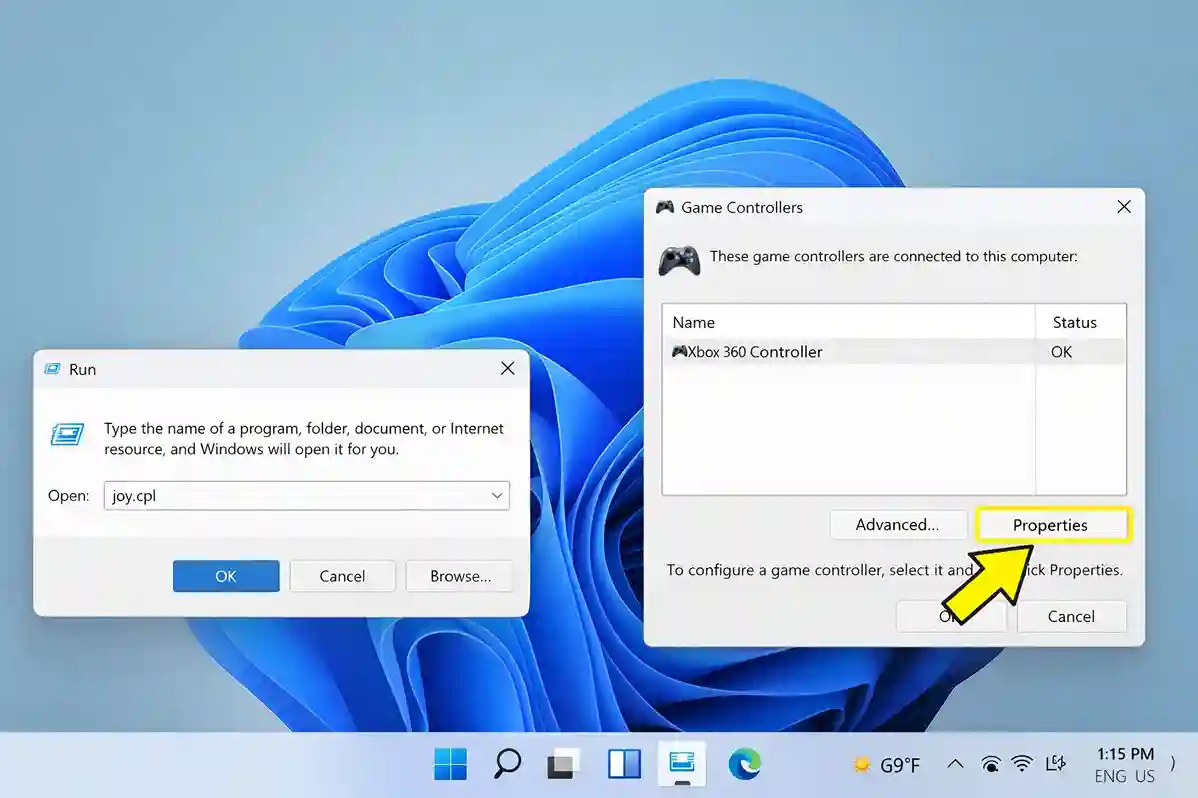
Another frequent issue is the Sync Button failure. This small button is crucial for pairing your controller to a new console or PC. When it fails, the controller becomes stuck in a disconnected state. We document alternative pairing methods—such as the USB-C bypass trick—that allow you to sync your controller even if the physical button is non-functional.
Elite Series 2: High Performance, High Maintenance
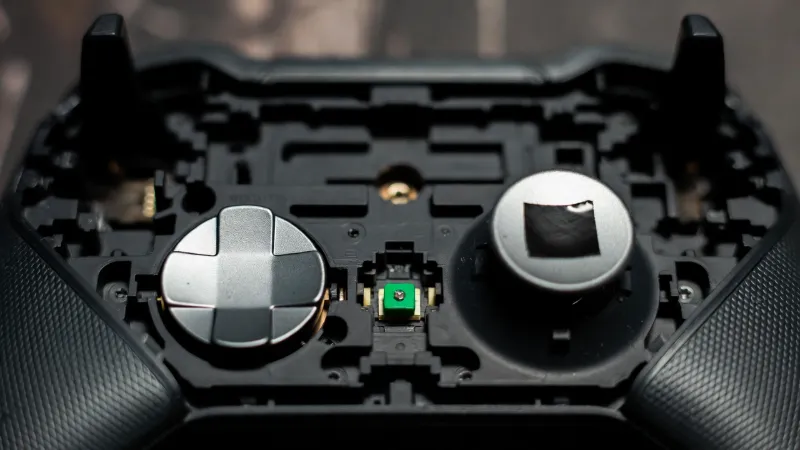
The Xbox Elite Series 2 is a masterpiece of engineering, featuring adjustable tension thumbsticks and hair-trigger locks. However, its complexity introduces unique failure points. The rubberized grips are notorious for peeling after extended exposure to heat and sweat. Furthermore, the internal paddle switches (P1-P4) can become unresponsive due to dust ingress or contact wear.
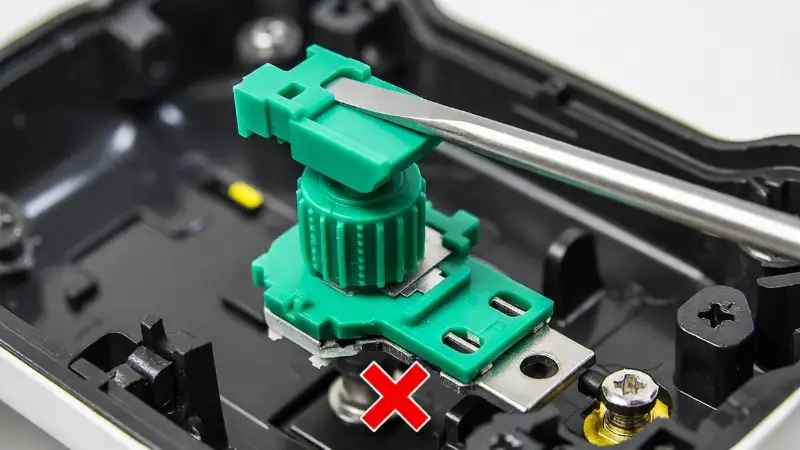
One of the most critical maintenance tasks for Elite owners is thumbstick tension adjustment. Many users lose the included adjustment tool, rendering this feature useless. Our guides reveal how to safely adjust the tension mechanism using standard household tools without stripping the internal plastic screw mechanism. We also cover deep cleaning protocols for the paddle sensors to restore crisp actuation without requiring soldering.
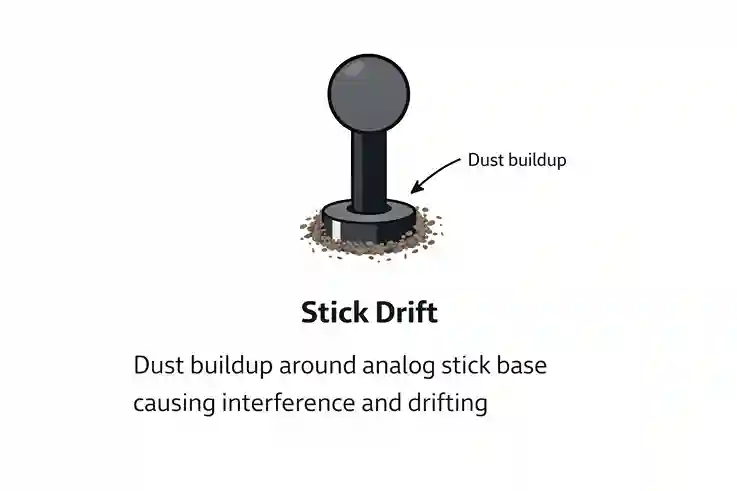
Solving Xbox Stick Drift
Stick drift is the plague of modern gaming, and Xbox controllers are not immune. Drift occurs when the internal potentiometer sensors wear down, causing the controller to register movement when the stick is centered. While software deadzones can mask the issue temporarily, a hardware fix is the only permanent solution.
We provide a tiered approach to fixing Xbox drift. First, we explore solder-free cleaning methods using Isopropyl Alcohol to remove carbon dust from the sensor tracks. If that fails, we guide you through replacing the potentiometer wiper discs—a delicate but effective repair that does not require a soldering iron. For advanced users, we offer full joystick module replacement guides to restore factory-perfect centering.